
Using Gimp to Create a Fadeout in an Image
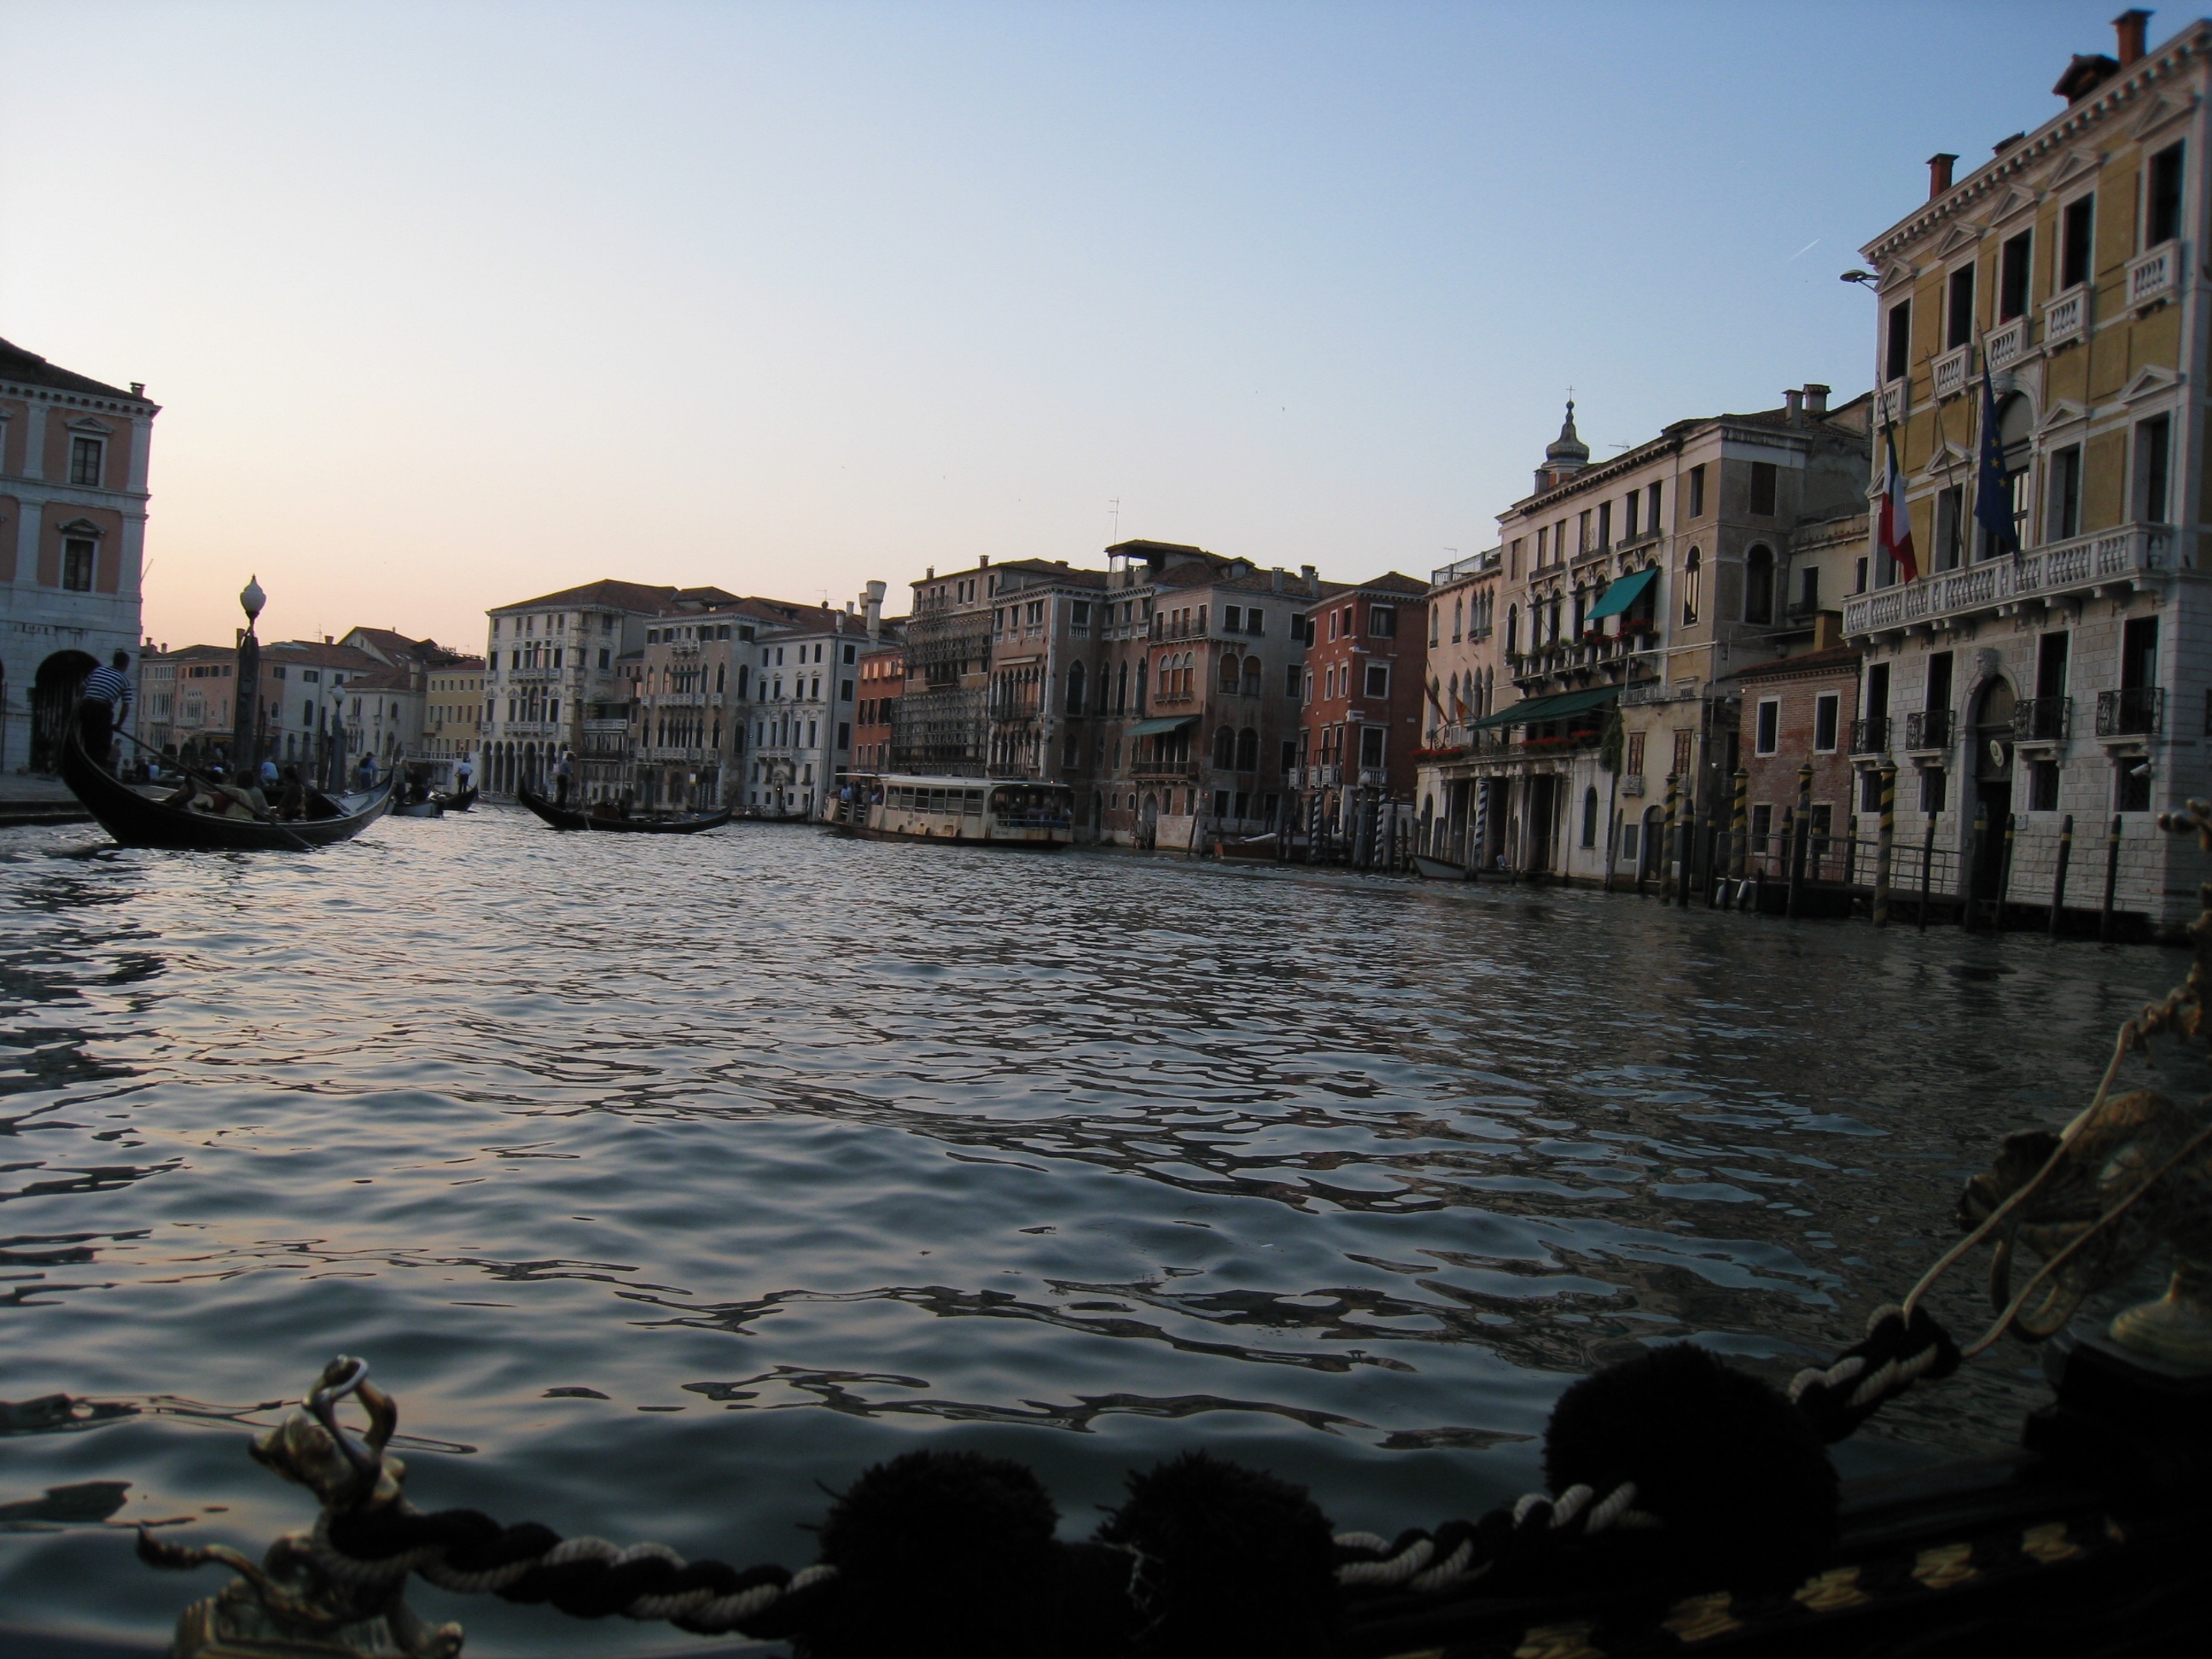 Figure 1. This is the initial image, a picture of the Grand Canal in Venice, Italy, just north of the Rialto Bridge. You can use this image and compare my results with yours, or you can use your own picture. Your choice. Figure 1. This is the initial image, a picture of the Grand Canal in Venice, Italy, just north of the Rialto Bridge. You can use this image and compare my results with yours, or you can use your own picture. Your choice.
|
 Figure 2. This is Gimp's Layers, Channels, Paths, Undo window. Figure 2. This is Gimp's Layers, Channels, Paths, Undo window.
|
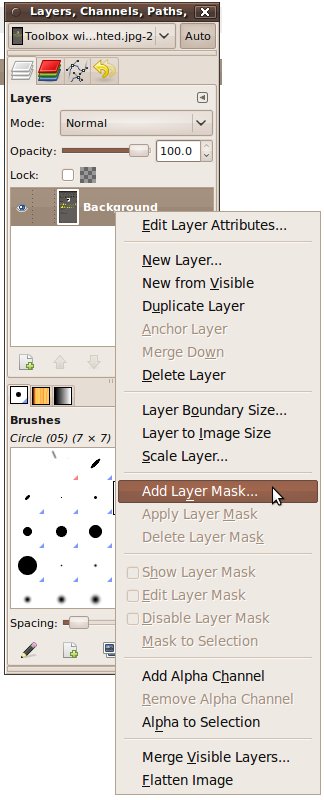 Figure 3. This shows the context menu that opens when you right-click on a layer in the "Layers, Channels, Paths, Undo" window. Figure 3. This shows the context menu that opens when you right-click on a layer in the "Layers, Channels, Paths, Undo" window.
|
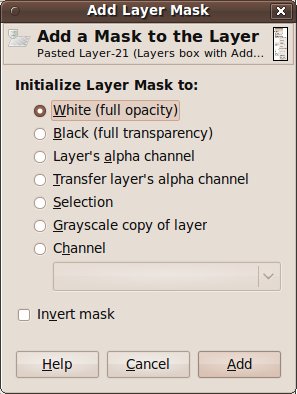 Figure 4. This is the "Add Layer Mask" window. Figure 4. This is the "Add Layer Mask" window.
|
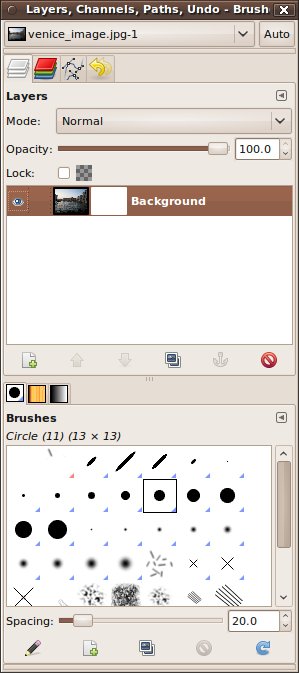 Figure 5. "Layers, Channels, Paths, Undo" window showing the layer with the added layer mask. Figure 5. "Layers, Channels, Paths, Undo" window showing the layer with the added layer mask.
|
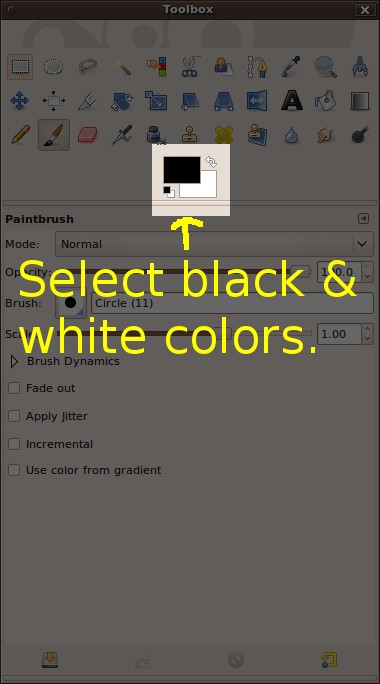 Figure 6. "Toolbox" window showing the Foreground and Background colors. Figure 6. "Toolbox" window showing the Foreground and Background colors.
|
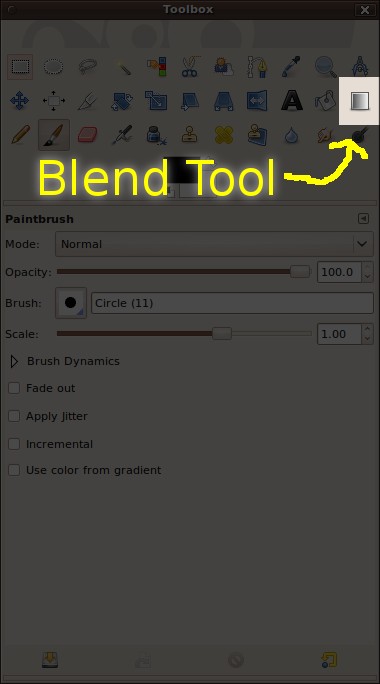 Figure 7. The Blend tool in the Toolbox window. Figure 7. The Blend tool in the Toolbox window.
|
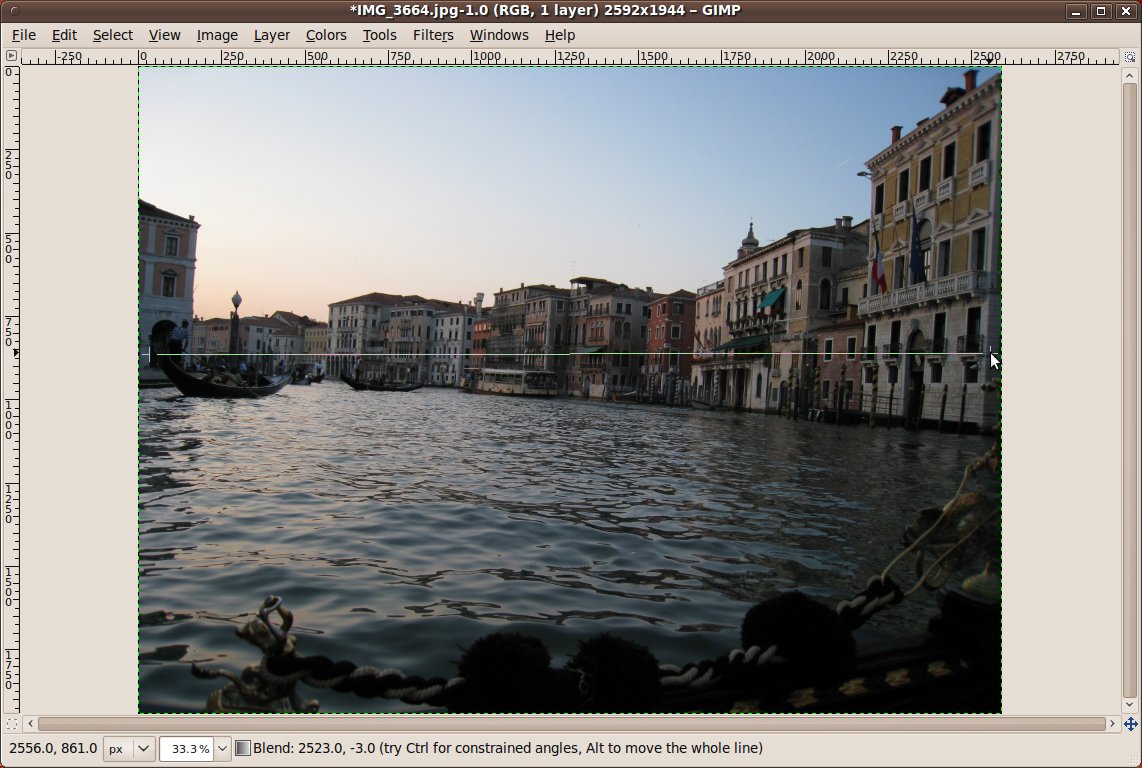 Figure 8. The Blend tool in the Toolbox window. Figure 8. The Blend tool in the Toolbox window.
|
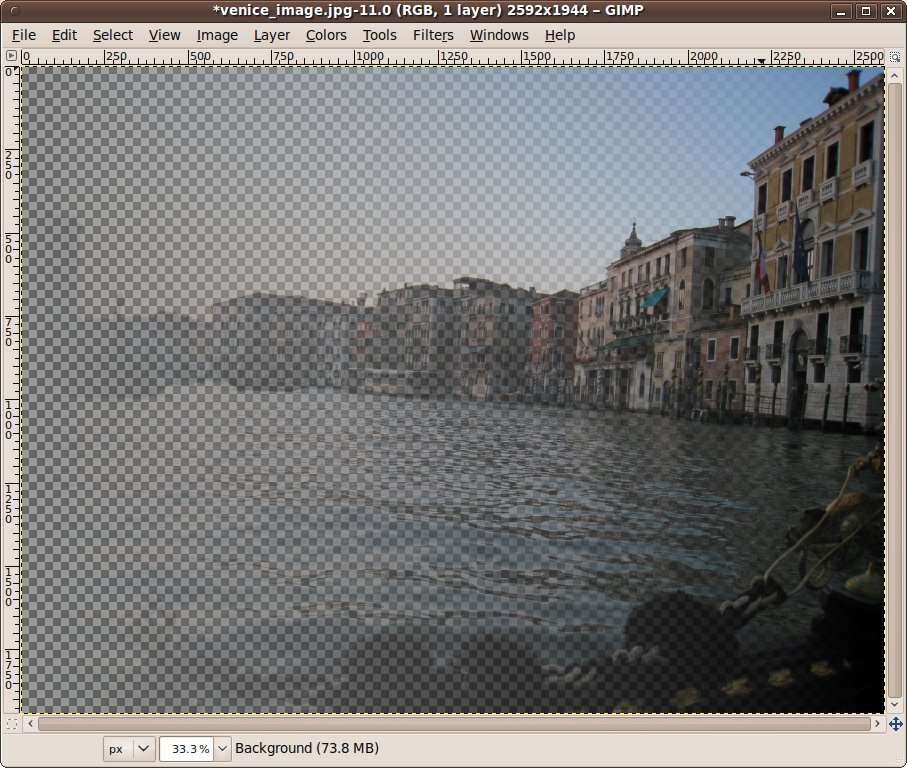 Figure 9. The image with a fadeout going horizontally across. Figure 9. The image with a fadeout going horizontally across.
|
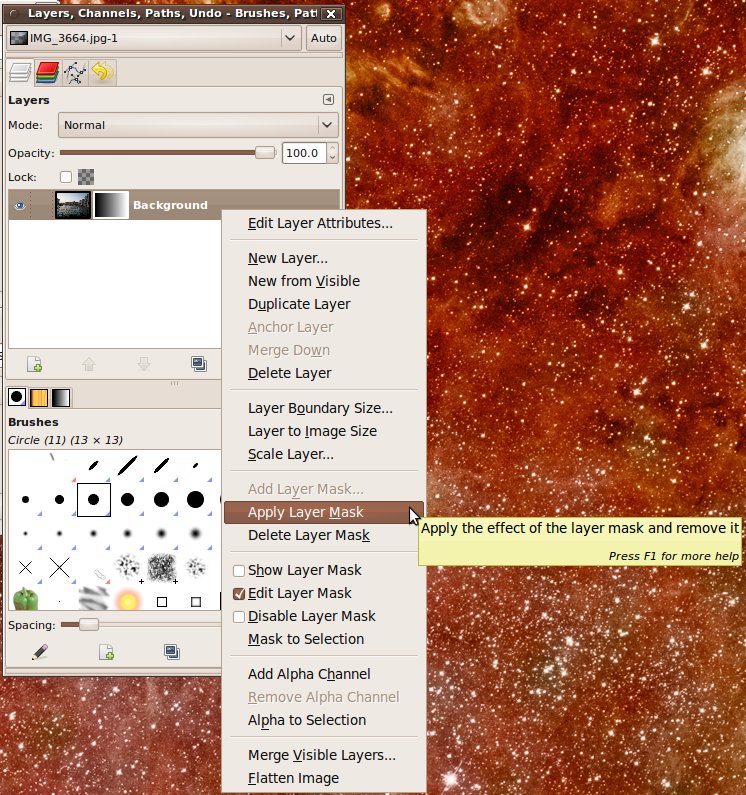 Figure 10. Context menu for layers. Figure 10. Context menu for layers.
|
Gimp is one of the better image processing programs around. The problem is that it does not have a good user interface. To help correct that deficiency in a small way, I'm going to walk you through how to create a fade-out in an image. To start, we'll use a picture I took during a trip to Venice in 2009. I took it as the wife and I were in a gondola in the Grand Canal just north of the Rialto Bridge.
A layer mask is a grayscale cover that fades out the image layer it is tied to. In a layer mask, white means the image is fully visible (opaque); black means the image is fully faded (transparent).
Start by looking at the "Layers, Channels, Paths, Undo" window. If you click on the "Layers" tab (which appears to be a stack of white sheets of paper at the top of the window), you'll see a layer marked as "Background". If you right-click on that layer, a context menu will show up. One of the options is "Add Layer Mask", as shown in Figure 3. Left-click on that option. When you do, a small window entitled "Add Layer Mask" will open up, as shown in Figure 4.
In the "Add Layer Mask" window, select "White (full opacity", then click "Add" at the bottom of the window. You won't see any change in the picture, but if you look in the "Layers, Channels, Paths, Undo" window, you'll now see a small, white window next to the small thumbnail of your picture, as shown in Figure 5.
The way that the layer mask works is that it a grayscale to determine how much of the image is faded. The color white is used to show that part of the picture fully. The color black is used to fade it out completely. To create a gradual fadeout, we're going to use the "Blend" tool to create a gradient from black to white (or white to black, as your preference may be).
In a layer mask, white means the image is fully visible (opaque); black means the image is fully faded (transparent).
We'll demonstrate the fadeout feature by having the image fade from right to left. To start, look at the Foreground and Background colors, as shown in Figure 6. What you want is to have black in one color and white in the other color. The color that is completely visible in the Foreground color, meaning the other color is the Background color.
Next, select the Blend tool from the Toolbox window, as shown in Figure 7. In the bottom half of the Toolbox window will be various settings you can use for the Blend tool. For this example, select Mode = "Normal", Opacity = "100%", Gradient = "FG to BG (RGB)", Offset = "0.0", Shape = "Linear", Repeat = "None", and check the box for Dithering. Leave the box for Adaptive Supersampling unchecked.
Move your cursor over the image. Note that it's a cross. Move the cursor to the left side of the image. Somewhere near the left edge and about halfway up, left-click the mouse and hold it. Drag the mouse over to the right edge, keeping it at the same height on the image. This is shown in Figure 8. Now release the mouse. As soon as you do, you'll see that the image is faded on the left and more opaque as you move to the right. This is shown in Figure 9.
To finish this tutorial, right-click on the layer in the "Layers, Channels, Paths, Undo" window again. The context menu will pop-up again. This time, left-click on the selection for "Apply Layer Mask" as shown in Figure 10. That will apply the layer mask to the image. At this point, you can save the image. However, if you want to save the transparency, you'll need to use an appropriate format that allows transparencies to be saved. My favorite is the PNG (Portable Network Graphics), an open license file format. If you don't care about the transparency, you can save it using the JPEG (Joint Photographic Experts Group) format. The JPEG format can provide smaller files, though at a cost of more compression.
I hope you've found this tutorial useful. Best of luck to you!